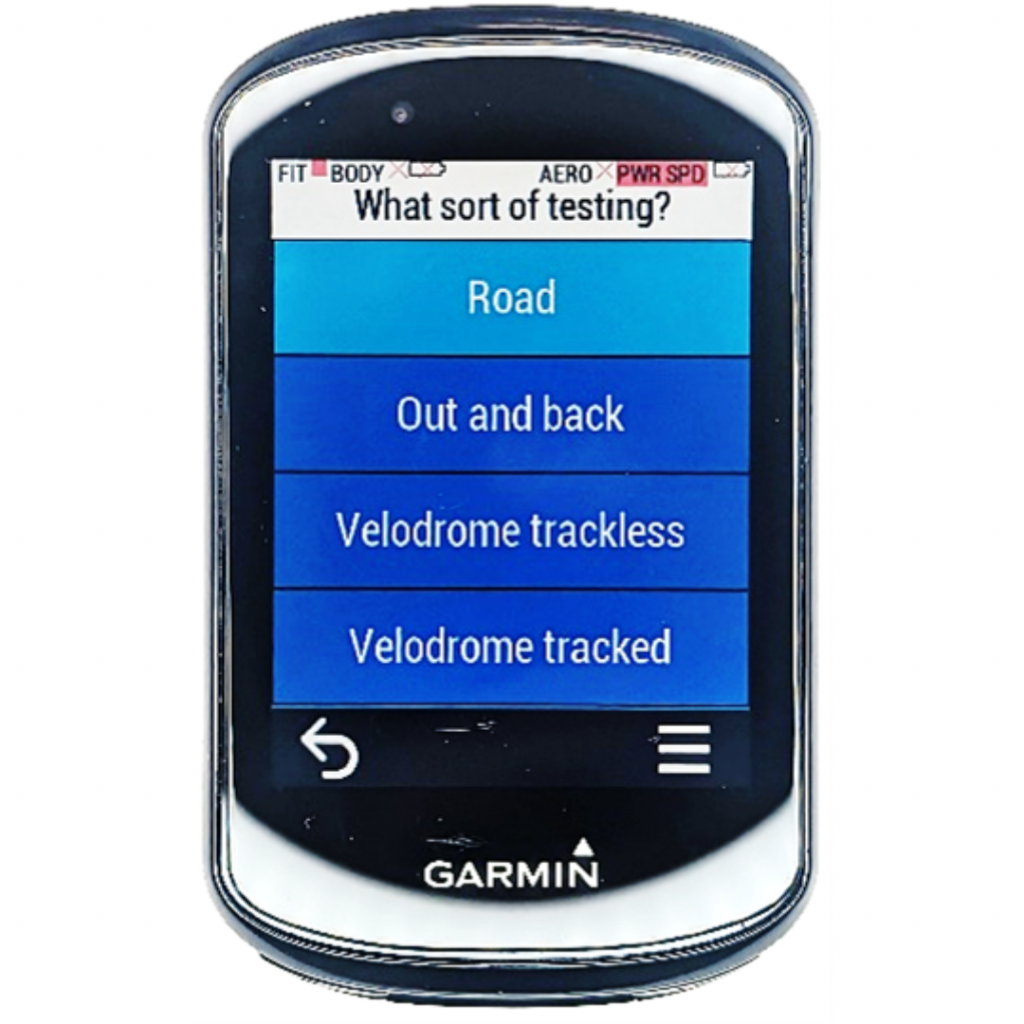
Quickstart

Estimated reading: 5 minutes

What follows outlines the basic setup of Aerosensor.  For more detailed information please refer to the other articles on the left hand side. 

ACS Installation

Download the ACS app to your Garmin.  Go to Garmin ConnectIQ store and search for “Aerosensor” or use link below.

https://apps.garmin.com/en-US/apps/0170243b-0384-4072-9e85-57030e4949a6

ACS screen layout

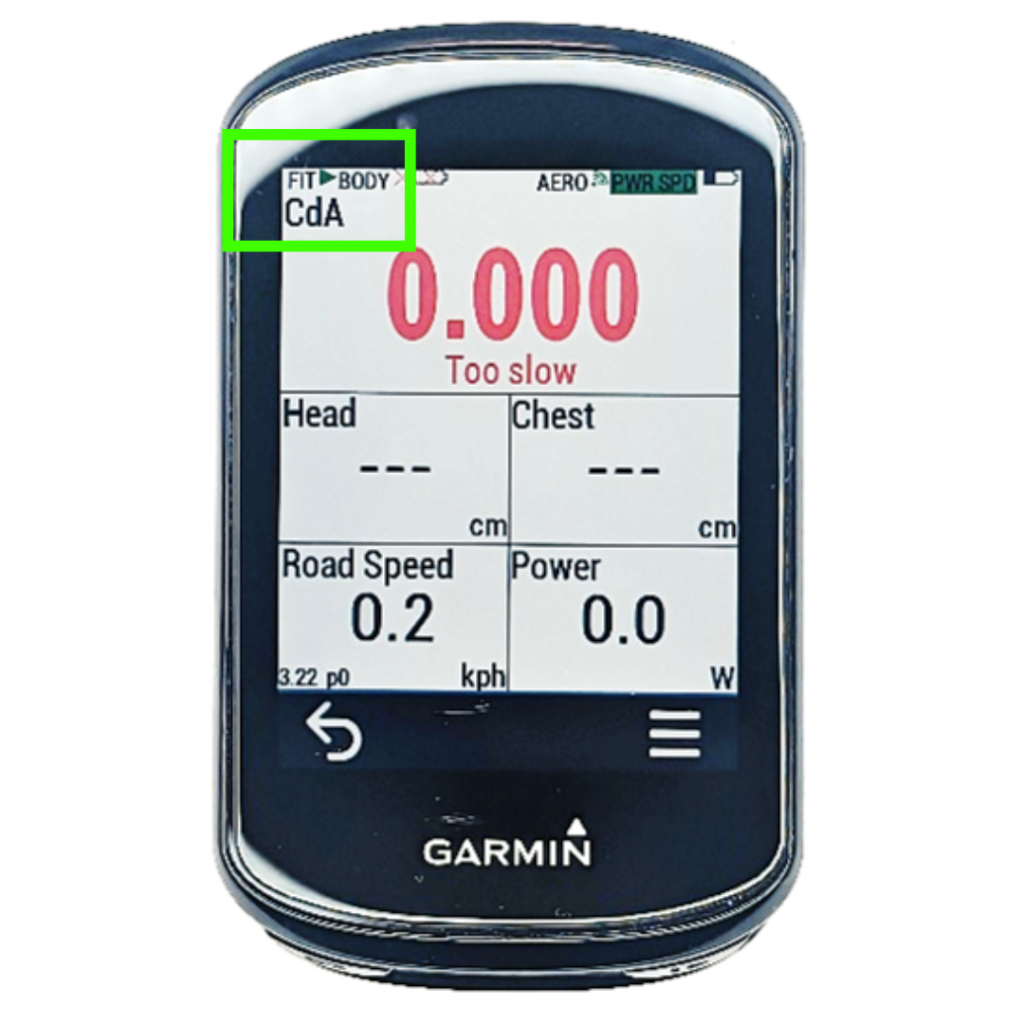
  1. FIT file recording status:
    Red square = not recording.
    Green triangle = recording.
  2. Aerobody connection and battery status.
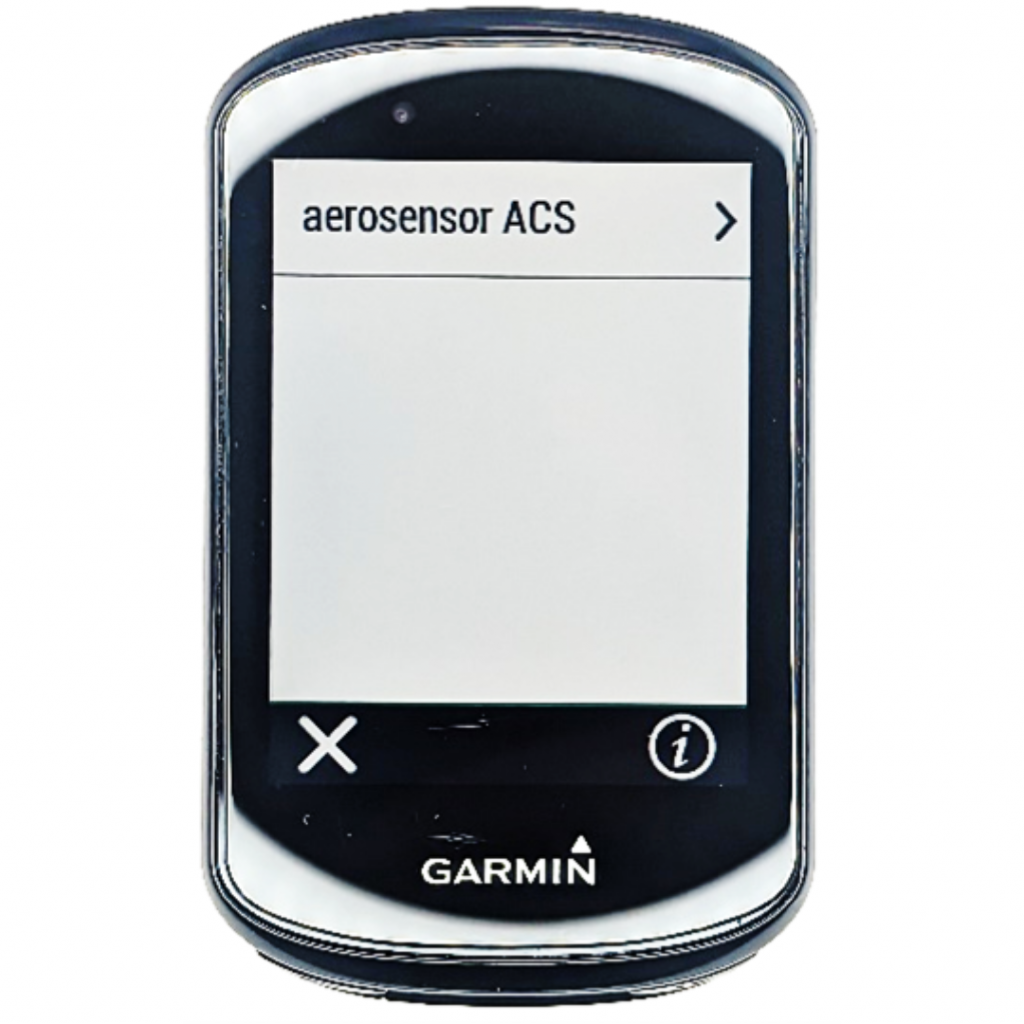
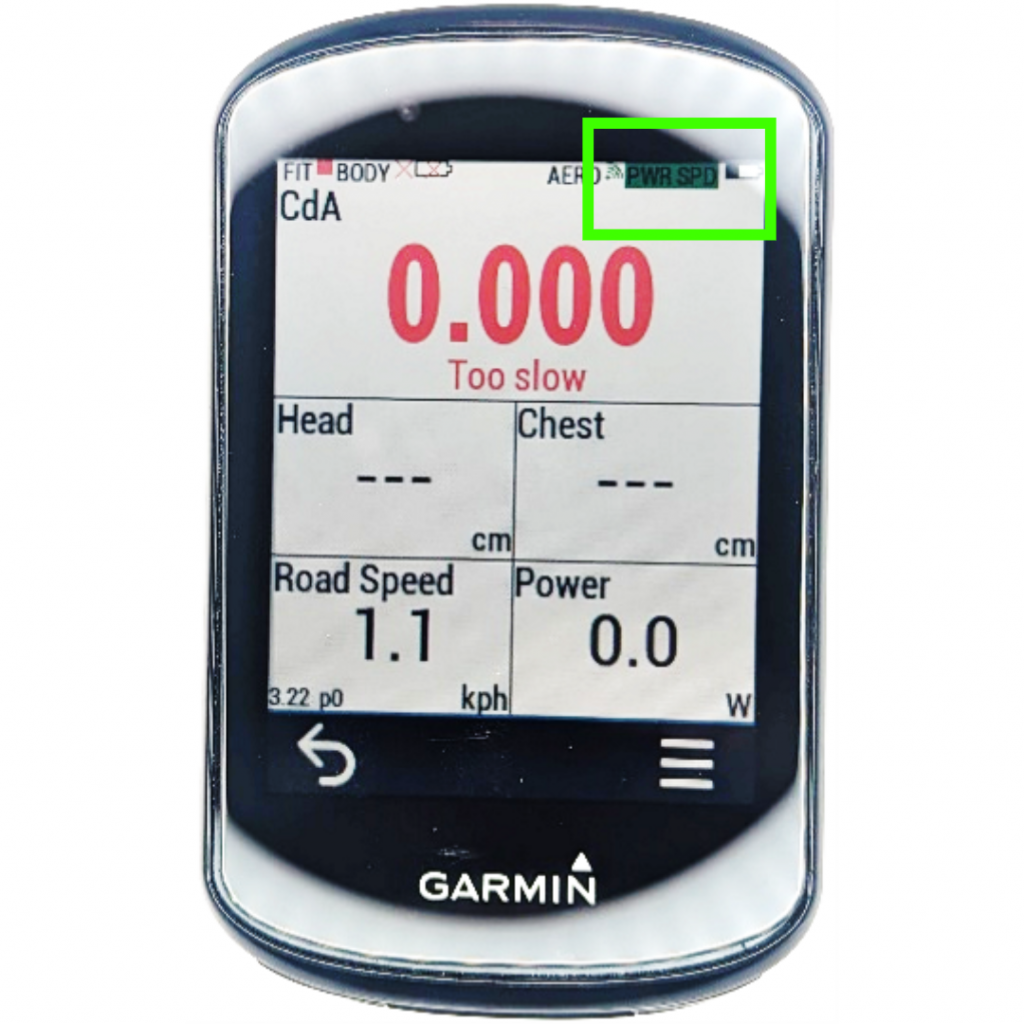
  3. Aerosensor connection status.
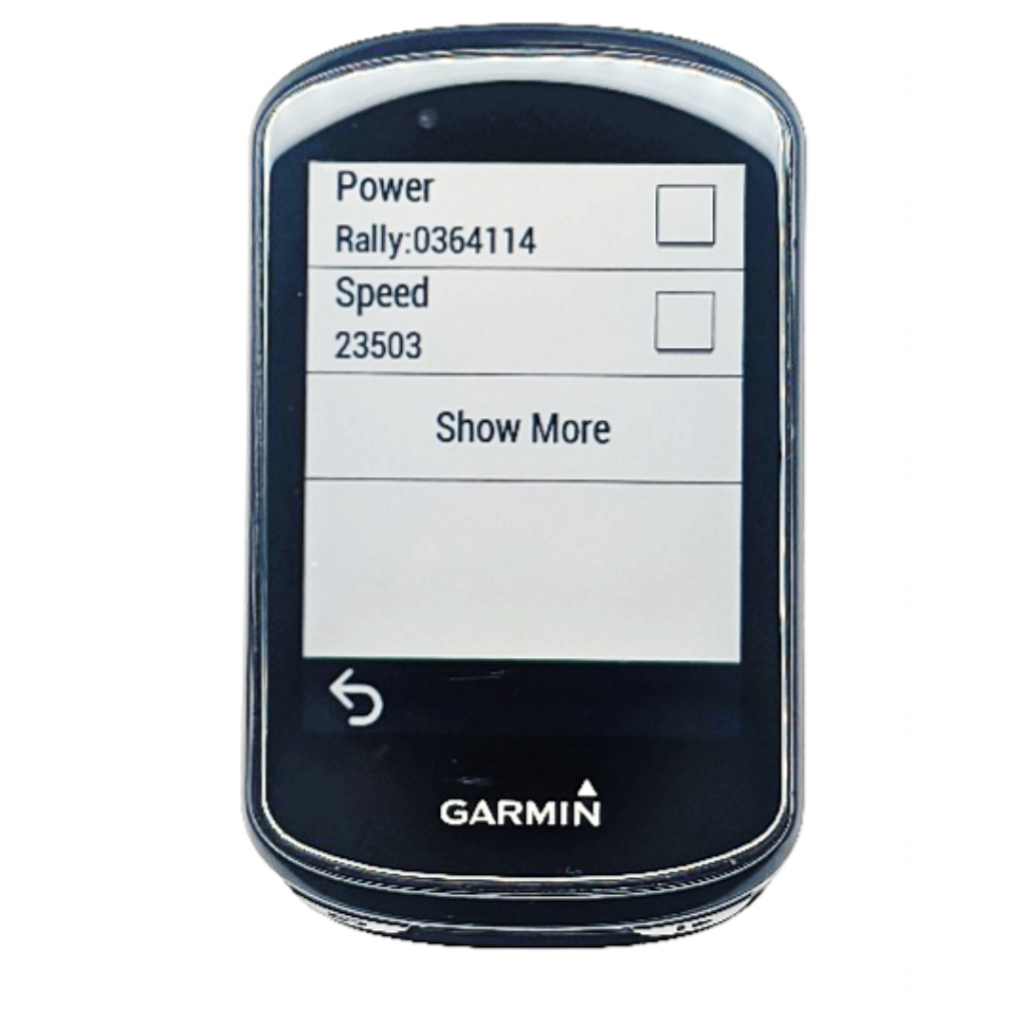
  4. Aerosensor power and speed or speed/cadence sensor connection status: Green = Connected. Orange = Searching. Red = Disconnected.
  5. Aerosensor battery status.
  6. Back key Use in menus use to go back a step, or on data screens exists app. This may be a button instead of touch screen icon depending on your Garmin Edge model.
  7. Menu key. This may be a button instead of touch screen icon depending on your Garmin Edge model.

Aerosensor Setup

  1. Install Aerosensor securely, level, and centred on the bike using a go-pro mount.
  2. Pair your power meter speed sensor to Garmin.  We recommend dual sided power meter, and magnet based speed sensor.
  3. Calibrate power meter in Garmin, and set crank length if necessary.
  4. Open ACS CIQ app on your Garmin bike computer.
  5. Choose test type:
    1. Road: for general road cycling.
    2. Out and back: for cycling out and back along a stretch of road.
    3. Velodrome trackless: for velodrome use without Aerodrome lap trigger.
    4. Velodrome tracked: for velodrome use with Aerodrome lap trigger.
  6. Connect Aerosensor to CIQ app.
    1. Turn on Aerosensor.  It should connect automatically.  If not:
    2. Menu > Connections > Aerosensor.
    3. Wait for CIQ app to find device, then click on it to connect.
  7. Input key parameters Menu > Aerosensor Settings > Parameters > Edit Parameters. Most important parameters to set are:
    1. Aero device calibration: Start with a value of 1.4.
    2. Total mass (your total mass i.e. you + bike + clothing)
    3. Wheel circumference You can get from speed sensor info in Garmin, or roll out wheel and measure distance on ground.
    4. Power meter scaling This accounts for drive train losses. Typically use 0.98 for all but hub based PMs
    5. CTF calibration offset Only necessary if using an SRM PM7 or earlier Power meter.  This is the value reported when you calibrate your power meter on the Garmin.
    Be sure to “Push Parameters” after exiting this menu to save any changes.
  8. Check connections, and start activity
    1. Make sure your power meter and speed sensor are on, by rotating wheel and pedals.
    2. If paired then “PWR” and “SPD” icons in top right go green.  If not see ACS instructions.
  9. Start activity
  10. Press the start activity button on Garmin to start recording to FIT file.  Note the red square in the top right corner turns to a green triangle.

That’s it!  You are now ready to go aero testing.  For accurate results be sure to calibrate your aerosensor every time you change bike or make a substantial change in your position. Don’t worry, you can do this at the same time as testing and post-correct your data, so no specific runs are necessary.  See next section.

Calibration

The air “sees” you coming towards it due to high pressure build up ahead of you. For this reason the air at Aerosensor’s location on your bike is slower than freestream. We need to correct for this.
  1. Perform at least two out/backs or 4 laps of velodrome. Be sure to start activity before starting this, and stop activity at the end.
  2. Select valid laps. Go to page 9 of the CIQ app, press menu, then either press up or down arrows or swipe up or down to select laps.  Press menu again to toggle valid (“X”) or invalid (no “X”).
  3. Read the average cal value (“Avg_Cal”).  You can either see this at the top of the lap page, or on page 10.
  4. Post-correct your CdA values by dividing them by this value.
    CdA_corrected = CdA_reported / Avg_cal
  5. Calculate new calibration factor
    AeroCal_New = AeroCal_Old x Avg_cal
  6. Enter new “Aero device calibration” in Aerosensor Settings.
    Menu > Aerosensor Settings > Parameters > Edit Parameters.

Aero testing guidance

Reliable aerodynamic testing is reliant on good testing protocols, focus on the following:

  • CdA data is only as accurate as the inputs. Make sure you check Aerosensor’s settings in the ACS app before every test.
  • Always calibrate power sensor before starting testing, and ideally before each set of laps or out-backs. Small calibration offsets can result in a big error in CdA measurement.
  • Always start and end your test block with a baseline repeat.
  • Try to maintain a constant speed through each run.
  • For out and back testing we recommend a stretch between 600 and 1000m.
  • The more out and backs you do, the better the repeatability will be.

Data Analysis

Data is recorded to FIT file.  You can view the data via various platforms:
  • Aerosensor Excel Analysis Tool
    Automated in-depth analysis in a macro-enabled Excel workbook, available from the downloads section.
  • Aerotune
    Online platform tailored for Aerosensor analysis. See Aerotune website.
  • Garmin Connect
    All Aerosensor data is visible as “Developer fields” on the Garmin Connect website, after your head units has synced.
  • WKO
    Workbook available from downloads section of our website.
  • Golden Cheetah
    We are working with Golden Cheetah developers to better support aero testing. Watch this space!
Share this Doc

Quickstart

Or copy link

Articles